How For Put Nail On The Felt In Roll Roofing

How To Install Asphalt Shingles Nailing On Ridge Cap Building A Shed Shed Installing Roof Shingles

Site Has Been Suspended Shed Roof Repair Shed Roof Felt Shed Roof Design

The Standard Nailing For Asphalt Shingles Is A Four Nail Pattern With Nails Placed 1 Inch From Each End Of Each Shingl Shingling Diy Roofing Roof Installation

Do It Yourself Roofing 3 Tab Asphalt Roof Shingle Installation With Straight And Uniform Rows Installing Shingles Installing Roof Shingles Roof Shingles

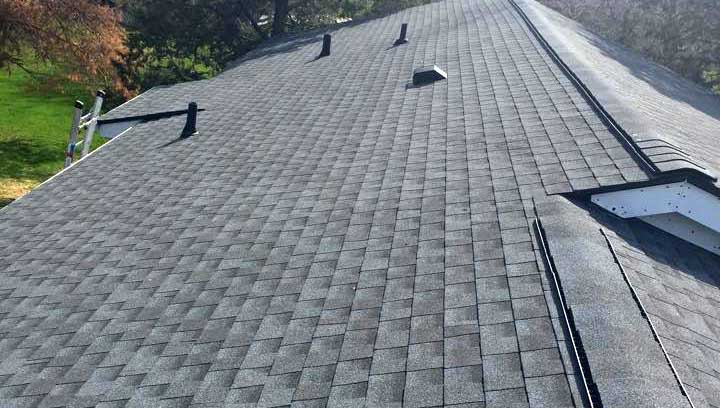
General Roofing Grs On Twitter Roof Maintenance Roofing Maintenance Checklist

Sheathing The Roof Plywood Sheathing Underlayment And Shingles Ice And Water Shield Will Protect The Roof Agains Roofing Roof Installation Building A Porch

All nails and staples should be placed on the lower half of the paper.
How for put nail on the felt in roll roofing.

Replacing A Shower Valve Assembly Alldiyideas Com Roof Leak Repair Leaking Flat Roof Roof Repair

How To Finish The Top Edge Of A Shed Roof In 2020 Shed Shed Roof Architectural Shingles

How To Install Roll Roofing Lovetoknow
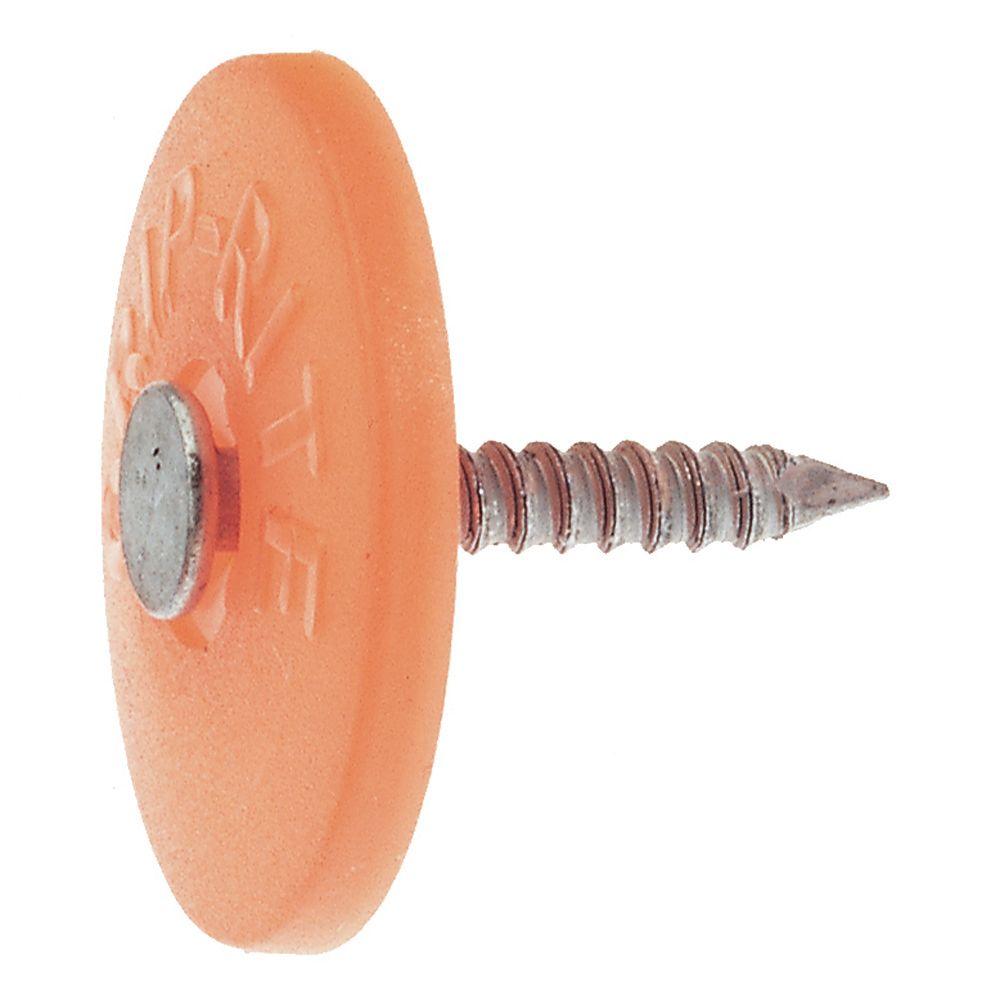
Grip Rite 12 X 1 In Plastic Round Cap Roofing Nail 3 000 Pack Gcb1 The Home Depot

How To Attach Roof Felt On A Shed 15 Steps With Pictures

Excellent Tips And Tricks On Roof Repair Rubber Roofing Flat Roof Epdm Roofing

How To Install And Replace Gutters How To Install Gutters Gutters Diy Gutters

Diy Portico Part 2 Finishing The Ceiling The Roof Addicted 2 Decorating Diy Roofing Portico Roof Decoration

Roofing System Identify Major Deficiencies In The Condition Of The Roofing System What We Observe Roof Coverings Roof D Vinyl Gutter Shingling Drip Edge
How Many Roofing Nails Per Square Allpoint Construction

Pin On Roof

What Are The Different Types Of Roofing Nails Howstuffworks

Flat Roof Inspection With A Focus On Modified Bitumen The Ashi Reporter Inspection News Views From The American Soc In 2020 Flat Roof Roof Inspection Roof Detail

How To Repair A Roof With Liquid Nails
How To Install Roofing Battens 4 Simple Steps Marley

Common Roofing Errors Jlc Online Roofing Roof Underlayment Roofingshingles Roofrepair Roof Installation Roof Shingles Roofing

Plastic Cap Roofing Nails Small Body Big Use

Excited To Share This Item From My Etsy Shop Fingerless Gloves Arm Warmers Felted Cuffs Larp Boho Wrist Warmers Wo Arm Warmers Wrist Warmers Felt Leaves
Https Encrypted Tbn0 Gstatic Com Images Q Tbn 3aand9gcs Jovbsjgnnqy4fy 28mtbtvzofkako2pguh6o59 P4u6ounxj Usqp Cau

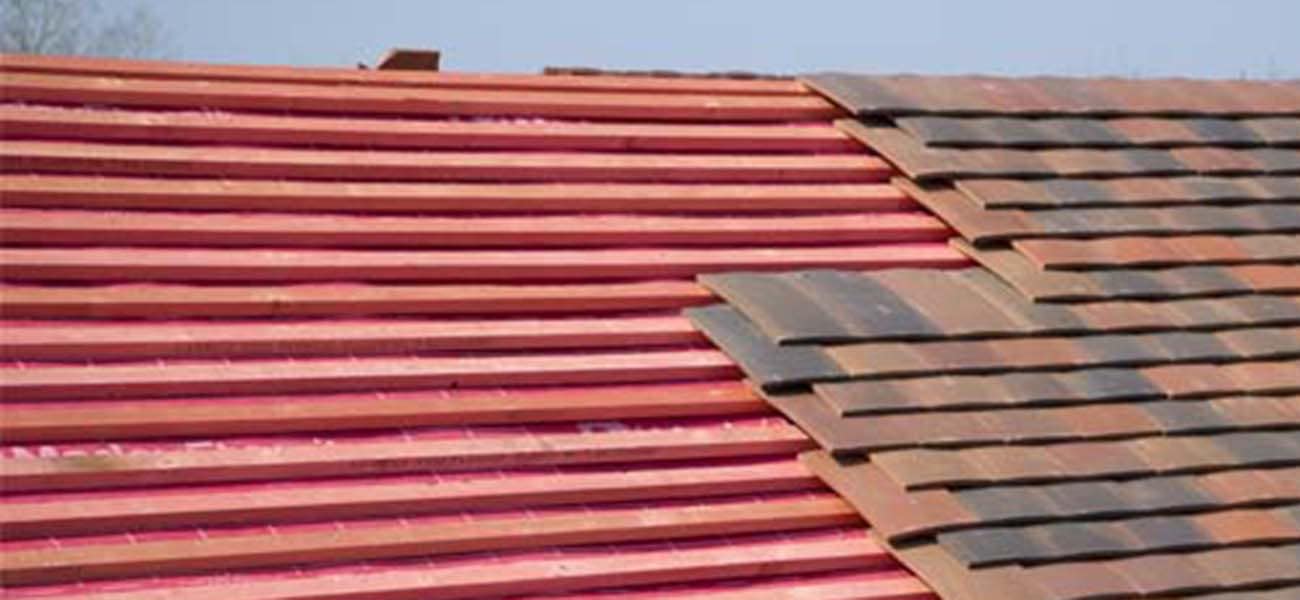
Pin On Slate Roofing

Cement Roof Shingles Alternative Energy Solar Thermal Roof Design

Once You Develop The Dishes Package Them As Needed In Pump Or Squeeze Bottles Sprays And Roll Essential Oils Essential Oils Cleaning Living Essentials Oils

Pin By Randi Harvey On Things I Make For Bacardi Events Roofing Nails Roofing Plinko Board

Watch This Before Sheeting Your Roof With Osb Avoid This Costly Nail Roof Edge Roof Roofing
Source : pinterest.com
